All activities should be supervised by an adult. As an Amazon Associate, I earn from qualifying purchases. This post may contain affiliate links.
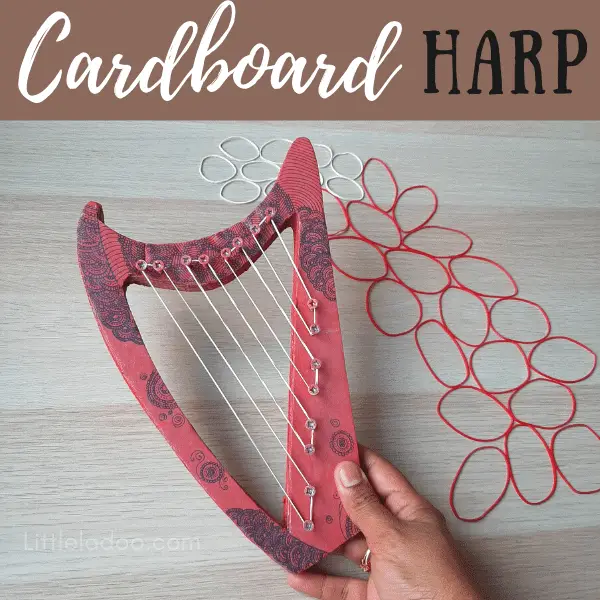
How to Make a Cardboard Harp – String instrument
This Cardboard String Instrument makes music just as a store-brought toy would.
A String Instrument toy was on my crafting wishlist for a long time. My little one has all other musical toys like a keyboard, flute mouth organ, and drum.
Among all the String instruments, Harp caught my attention. It has a simple yet most beautiful and eye-catching appearance. So decided to give it a try, and so here is my Harp-inspired cardboard Toy.
This post contains affiliate links. As an Amazon Associate, I earn from qualifying purchases.
What is a Harp?
Harp is a musical instrument that has parallel Strings and is played by plucking with fingers. These string instruments are usually between 2′ and 6′ in height.
Facts about harp
Here are a few fantastic facts about harps that fascinated me
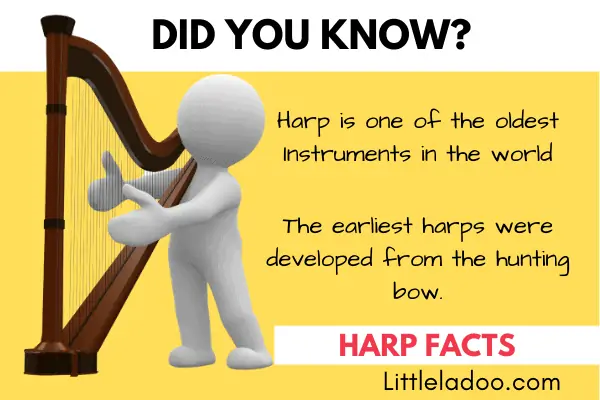
- Harp is the second-largest stringed instrument in an orchestra (the double bass is the largest).
- Harps are made with a strong triangular frame capable of withstanding the pressure of the tight strings. It is primarily made of wood and wire.
- Harp is the national symbol of Ireland.
- Even beginners can play beautiful music in the first sitting, and even practice sounds good. Isn’t it amazing??
How to Make a Cardboard String instrument?
This article has everything you need to make a Cardboard Toy. I have added step-by-step instructions, a video, and a template to cut the cardboard layers. Download the template by clicking the link below.
The Template will give you a 20cm harp which will be very handy for the kid to play with and take along. You can also scale it up and make it as big as you need.
Things needed to make a harp
This project only requires only a few basic things that you already have at home
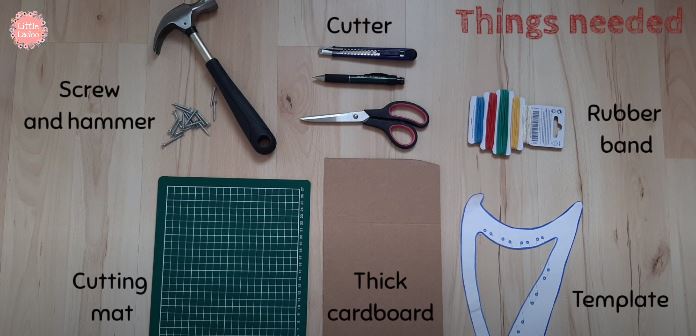
- Thick cardboard
- Rubber bands
- 32 mm Screws and hammer
- Cutting mat, Cutter, Scissors
- Cutting template (Download my template)
- Acrylic paint and a fine tip pen (optional)
Watch the Video Tutorial
This video shows how to make a Cardboard String Instrument toy. You can also see how it produces sound when pulling the string.
Read on to see step-by-step instructions along with pictures.
Directions to make a Cardboard Harp
Mark Footprint and Cut Cardboard
Download the template and cut the Harp out.
Place the Cutout Harp template on a sheet of cardboard and mark the outline with a pencil. Cut the cardboard out using a cutter. Make ‘n’ number of pieces as required.
How do you know how many you need? Consider two things; The thickness of the Cardboard and the Length of the screw. For instance, I made 5 pieces of cardboard (combined thickness is 20mm), whereas the depth of my screw is 32mm.
Next, mark the Screw position on a cardboard cutout.
(Punching holes in the template will be helpful to mark the position of the screw on the cardboard)

Combine the Cardboard cutouts
Glue the cutouts one above the other with white glue. Make sure that they are all well-aligned. Also, make sure that the cardboard cutout, marked for the screw position, is on the top.
You can place a weight over them and let them dry for 10 to 20 minutes. Once it is dry, check for undulations on all sides. If there are any, use sandpaper or a cutter to scratch them out.
Insert the Screws
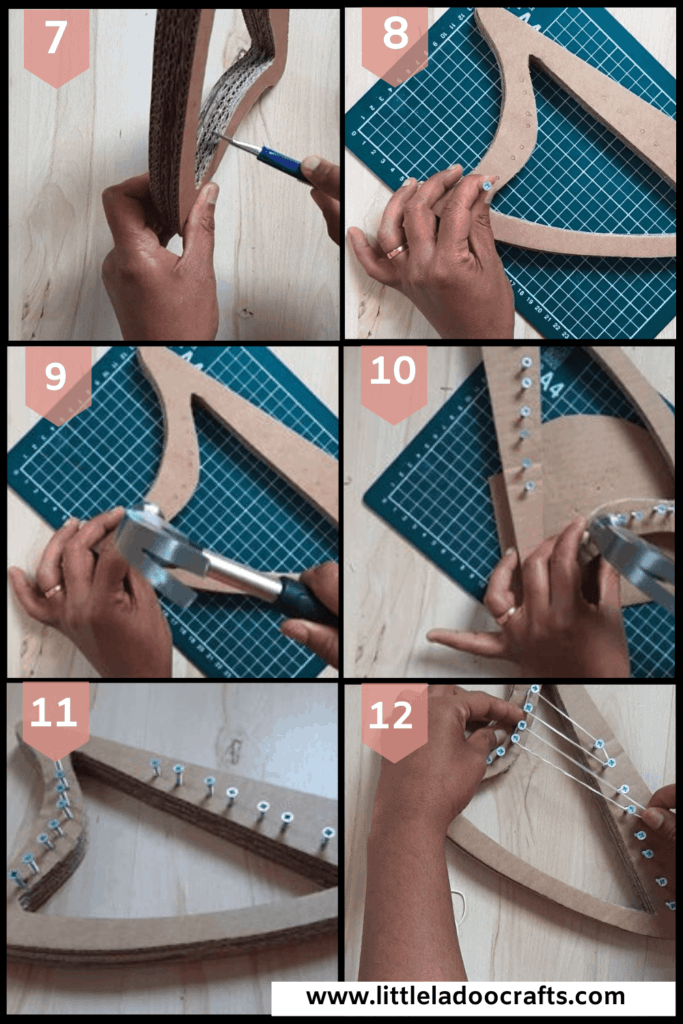
Insert the screws one by one in the marked positions using a hammer. I preferred screw-over nails because they cannot be pushed in or pulled off by my kid.
As my nail is 32 mm, 12mm was projecting on the top after inserting 20mm into the cardboard base. This projection can be used to hold the strings.
On the rear side of the cardboard, some nails might protrude a little. If it happens, cut another thick piece of paper or cardboard and add a layer at the rear side.
Add the Strings
Finally, add the main element of the project – the strings/rubber bands. Add the right size rubber bands such that the strings are in full tension. The tighter, the better.

You can also paint with acrylic paint and add small intricate patterns with a fine-tip pen.
Tada! It’s ready!
We totally loved the output, and my child loved making music with it. It was also convenient for her to take along.
Pin this Easy Cardboard String instrument
Don’t forget to save this DIY cardboard toy for later! Be sure you are following along with Little Ladoo.

Did this post inspire you to make one for your child? Let me know in the comments section.
Do you know someone who might find this useful? Please share it
Similar DIY Cardboard Toys
Also, check our Front Facing Bookshelf made out of Cardboard
Thank you for reading through this post!! If you found this helpful, please let me know in the comment section because I would love to hear from you!